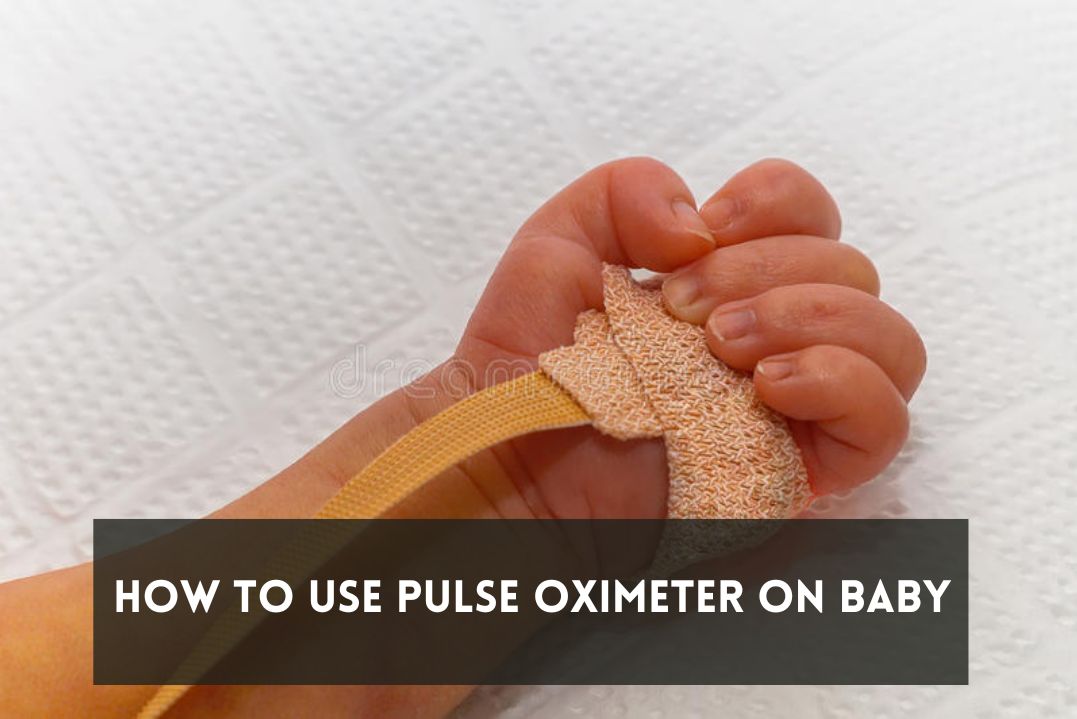
As a parent, it’s natural to worry about the health and well-being of your baby. One way to monitor their health is by using a pulse oximeter. This device is safe, non-invasive, and can provide you with valuable information about your baby’s oxygen saturation levels.
However, using a pulse oximeter on a baby can be tricky. You need to know the right technique to get accurate readings without causing any discomfort to your little one. In this article, we will guide you on how to use a pulse oximeter on your baby, so you can have peace of mind knowing their oxygen levels are within a healthy range.
A Step-by-Step Guide on How to Use Pulse Oximeter on Your Baby
If you have a newborn or young infant, it’s essential to monitor their oxygen levels regularly. One way to do this is by using a pulse oximeter. A pulse oximeter is a small device that measures oxygen saturation levels in the blood by emitting light through a baby’s skin.
However, using a pulse oximeter on a baby can be challenging for first-time parents. This step-by-step guide will walk you through the process of using a pulse oximeter on your baby.
Step 1: Gather the necessary supplies
Before you start, make sure you have all the necessary supplies within reach. You will need a pulse oximeter, alcohol wipes, a small bandage, and a pediatric probe. Ensure that the pulse oximeter and probe are charged and ready to use.
Step 2: Choose the appropriate site
The most common sites to place a pulse oximeter on a baby are the foot and hand. Choose a site that is less likely to move and more comfortable for the baby. If your baby is sleeping, it’s best to place the pulse oximeter on the foot, as they are less likely to move their feet while sleeping.
Step 3: Clean the site
Use an alcohol wipe to clean the site where you plan to place the probe. This helps prevent any infection from entering the baby’s bloodstream.
Step 4: Place the probe
Gently place the probe on the site you have chosen. The probe should fit snugly but not too tightly. If the probe is too tight, it can restrict blood flow and give you inaccurate readings.
Step 5: Wait for the reading
The pulse oximeter will take a few seconds to give you an accurate reading. It’s important to remain still and not move the baby during this time to ensure an accurate reading. The oxygen saturation levels will be displayed on the screen of the pulse oximeter.
Step 6: Record the results
Record the results in a logbook or on a piece of paper, along with the time and date. This helps you monitor your baby’s oxygen levels over time.
Step 7: Remove the probe
Once you have recorded the results, gently remove the probe from the baby’s skin. Use a small bandage to cover the site if needed.
Conclusion
Using a pulse oximeter on your baby can be intimidating initially, but with this step-by-step guide, you can do it safely and accurately. Remember to choose the appropriate site, clean the site, and wait for the reading to ensure accurate results. Always consult your pediatrician if you have concerns about your baby’s oxygen levels.


